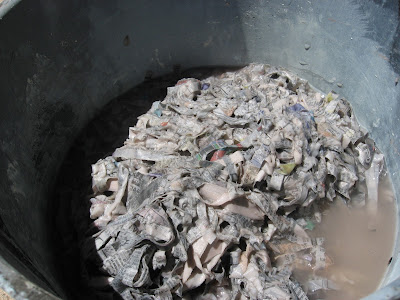
Paper shredding and pulping—the first step—turned out to take up
the most time. I used my paper shredder to munch up about three days of Albuquerque Journal newspapers, and then put this chaotic jumble into a five
gallon bucket and filled it with enough water to cover the paper to blend it with
a mixing bit.
With the paper, I learned that a
longer soaking time kept the paper from just spinning around and clumping up around
the drill bit, and this is where most of the delays came from. Blending with
the mixer drill bit resulted in this very soggy paper pulp, which needed
staining off of its excess water.
At the same time the paper soaked
away, I got my very dried out clay soaking as well. (If you were using new
earthenware clay, soaking wouldn’t be needed.)
Next up, measuring and mixing! Because
of the volume the mold needed, I ended up using two five gallon buckets. The
actual volume of the mold was a little less than 1 cubic foot. After some
number crunching, I marked off the percentages on the side of the buckets. Then
I added all the ingredients, layering them for easy measuring.
What followed was a frenzied shoveling/mixing/drilling
rampage. I was so covered in clay and cement I dared not touch the camera, but here
is the completed pour after I filled the mold. I had some warping issues with
the side panels, which is why it bears a resemblance to a fortress with all the
blocks.
Not too shabby! My biggest concern
is the drying time, but I feel confident that it will be able to survive the
drive to campus on Thursday. The Portland cement will be cured by then (it's already setting up nicely), and the
rest of the moisture will soon follow.
Exciting stuff!


